

An announcement bar is a slim strip across the top of your storefront that shows a short message to everyone who visits. It appears on Atlas Online, Kiosk, and Scan-to-Order.
What announcement bars do
Use an announcement bar to tell all your customers something at once — a pricing note, holiday hours, a running promotion, a new item, or a quick operational heads-up.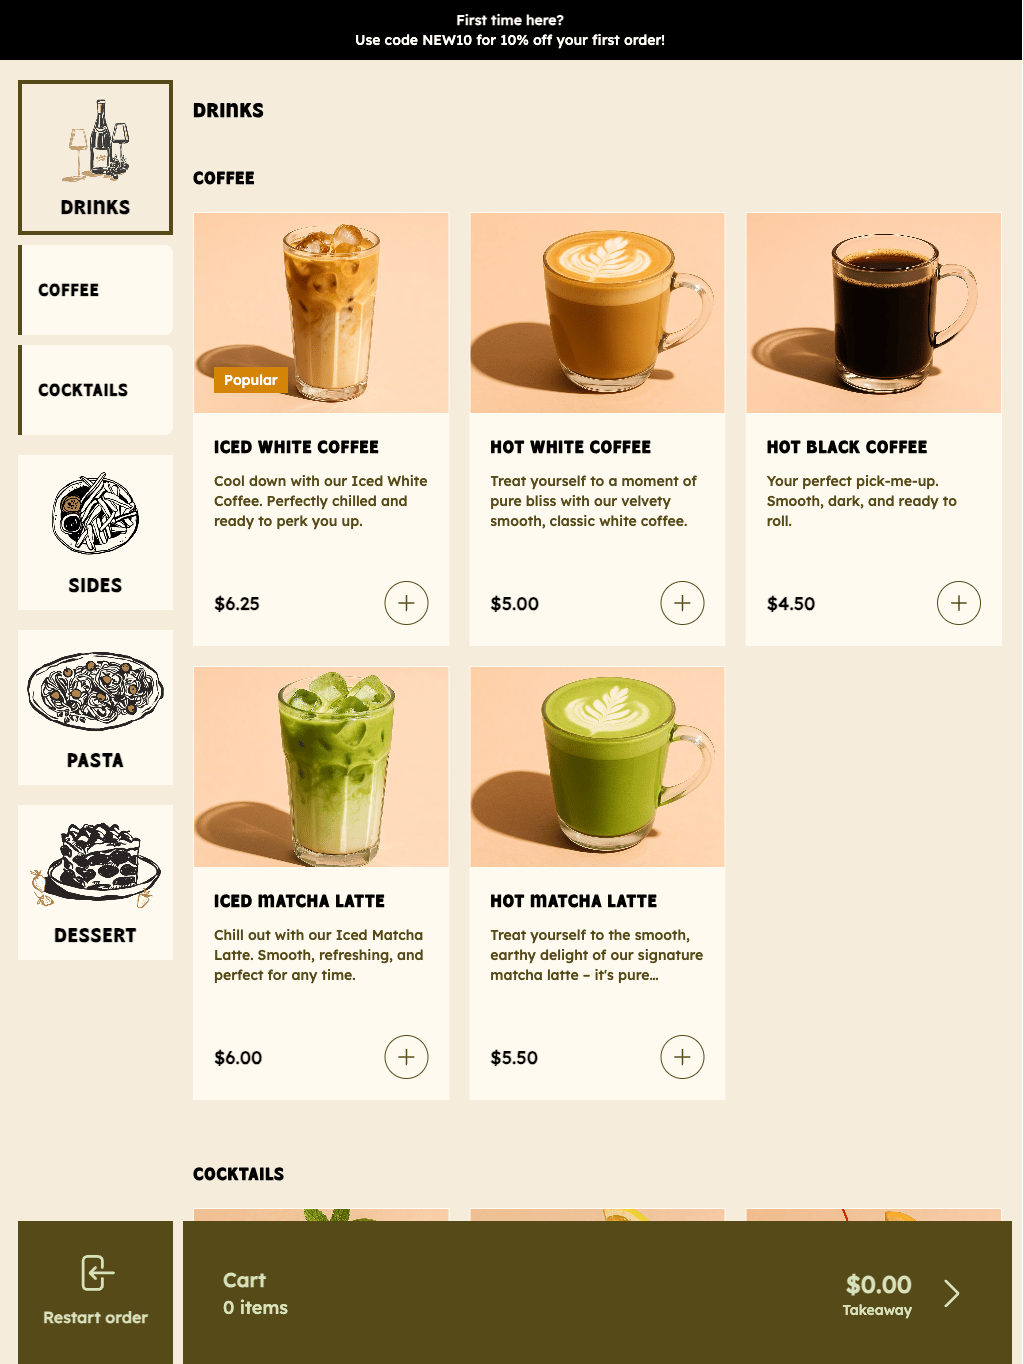
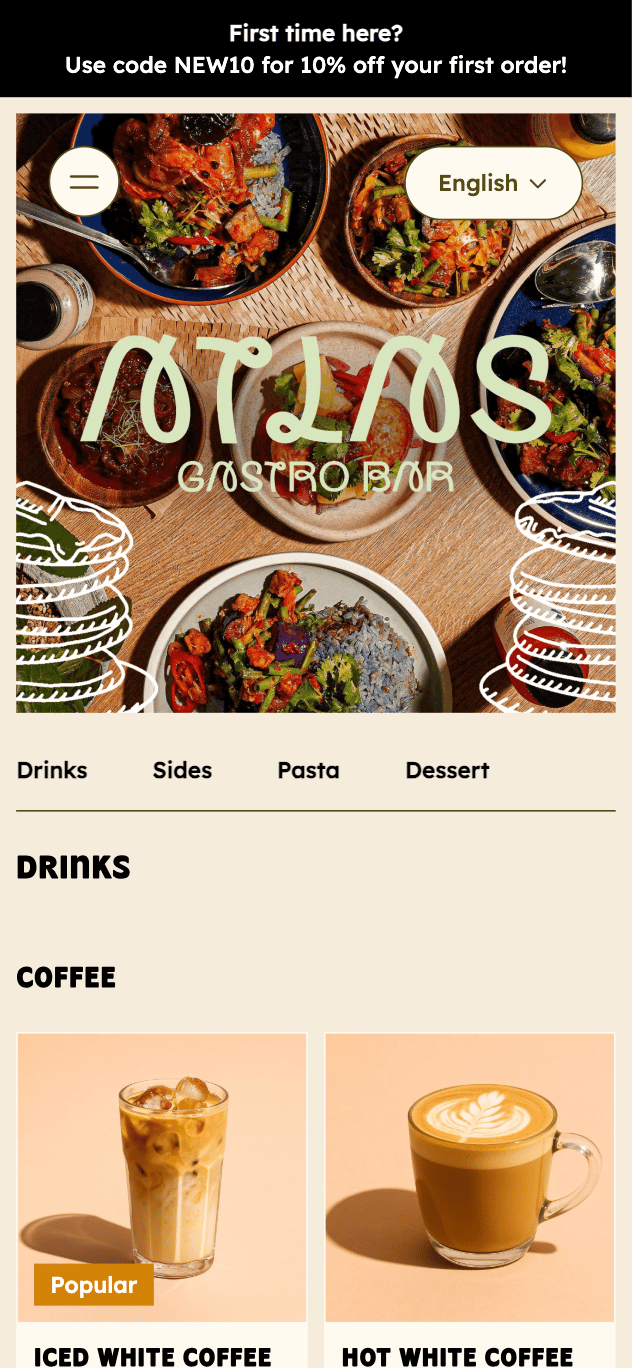
Bar vs pop-up. An announcement bar is the thin strip at the top. A pop-up is a separate, richer feature — a full-screen image with its own display rules and an optional button. This guide covers the bar.
Where it appears
- Atlas Online — your online storefront
- Kiosk — self-order kiosk in-store
- Scan-to-Order — diners ordering from the QR menu
Set up an announcement bar
- In the Merchant Portal, go to Marketing tools → Announcements.
- Click Create new announcement.
- Select Website (Atlas Online) or Channel (Kiosk + STO).
- Write the title and message (see Writing the copy below).
- Configure styling — background and text colour, optional link URL, and whether customers can dismiss the bar.
- Pick the channels, outlets, and storefronts the bar should show on.
- Set a start and end time. For long-term notices (like a pricing note), set the end date far in the future.
- Save as draft to publish later, or Save to go live immediately.
Writing the copy
A bar has a title and a message, and they display together on one line. Because there is only a space between them, write the two so they read as a single sentence — and end the title with punctuation (a colon works well) so they do not run together.- Good — title
Note:+ messagePrices are not subject to GSTreads as Note: Prices are not subject to GST - Avoid — title
Note+ messagePrices are not subject to GSTreads as Note Prices are not subject to GST
Styling
- Colours — the bar is black with white text by default. You can set a custom background and text colour; keep them high-contrast so the message stays readable.
- Link — you can make the bar clickable and send customers to a URL, such as an item or a menu section.
- Dismissable — choose whether customers can close the bar. Turn this off for notices you always want shown (like a pricing note) and on for time-limited messages.
Common use cases
Tips
- Show one message at a time — several bars compete for the same strip.
- For a promo bar, make sure the wording matches the actual discount (code, amount, and dates).
- To change or take down a bar, edit it from the Announcements screen in your portal.