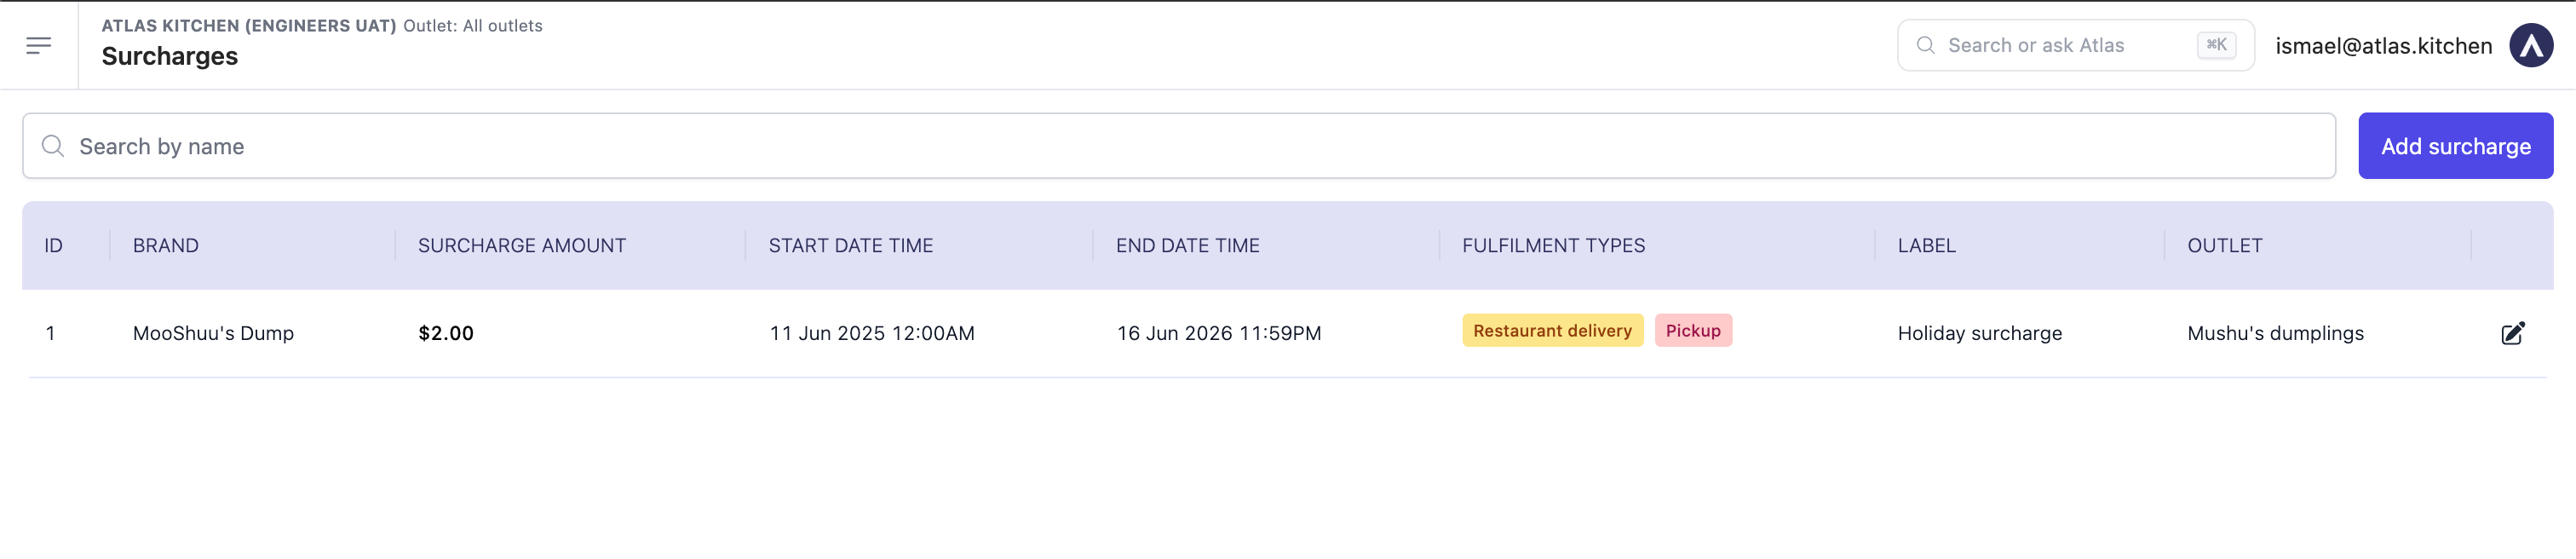
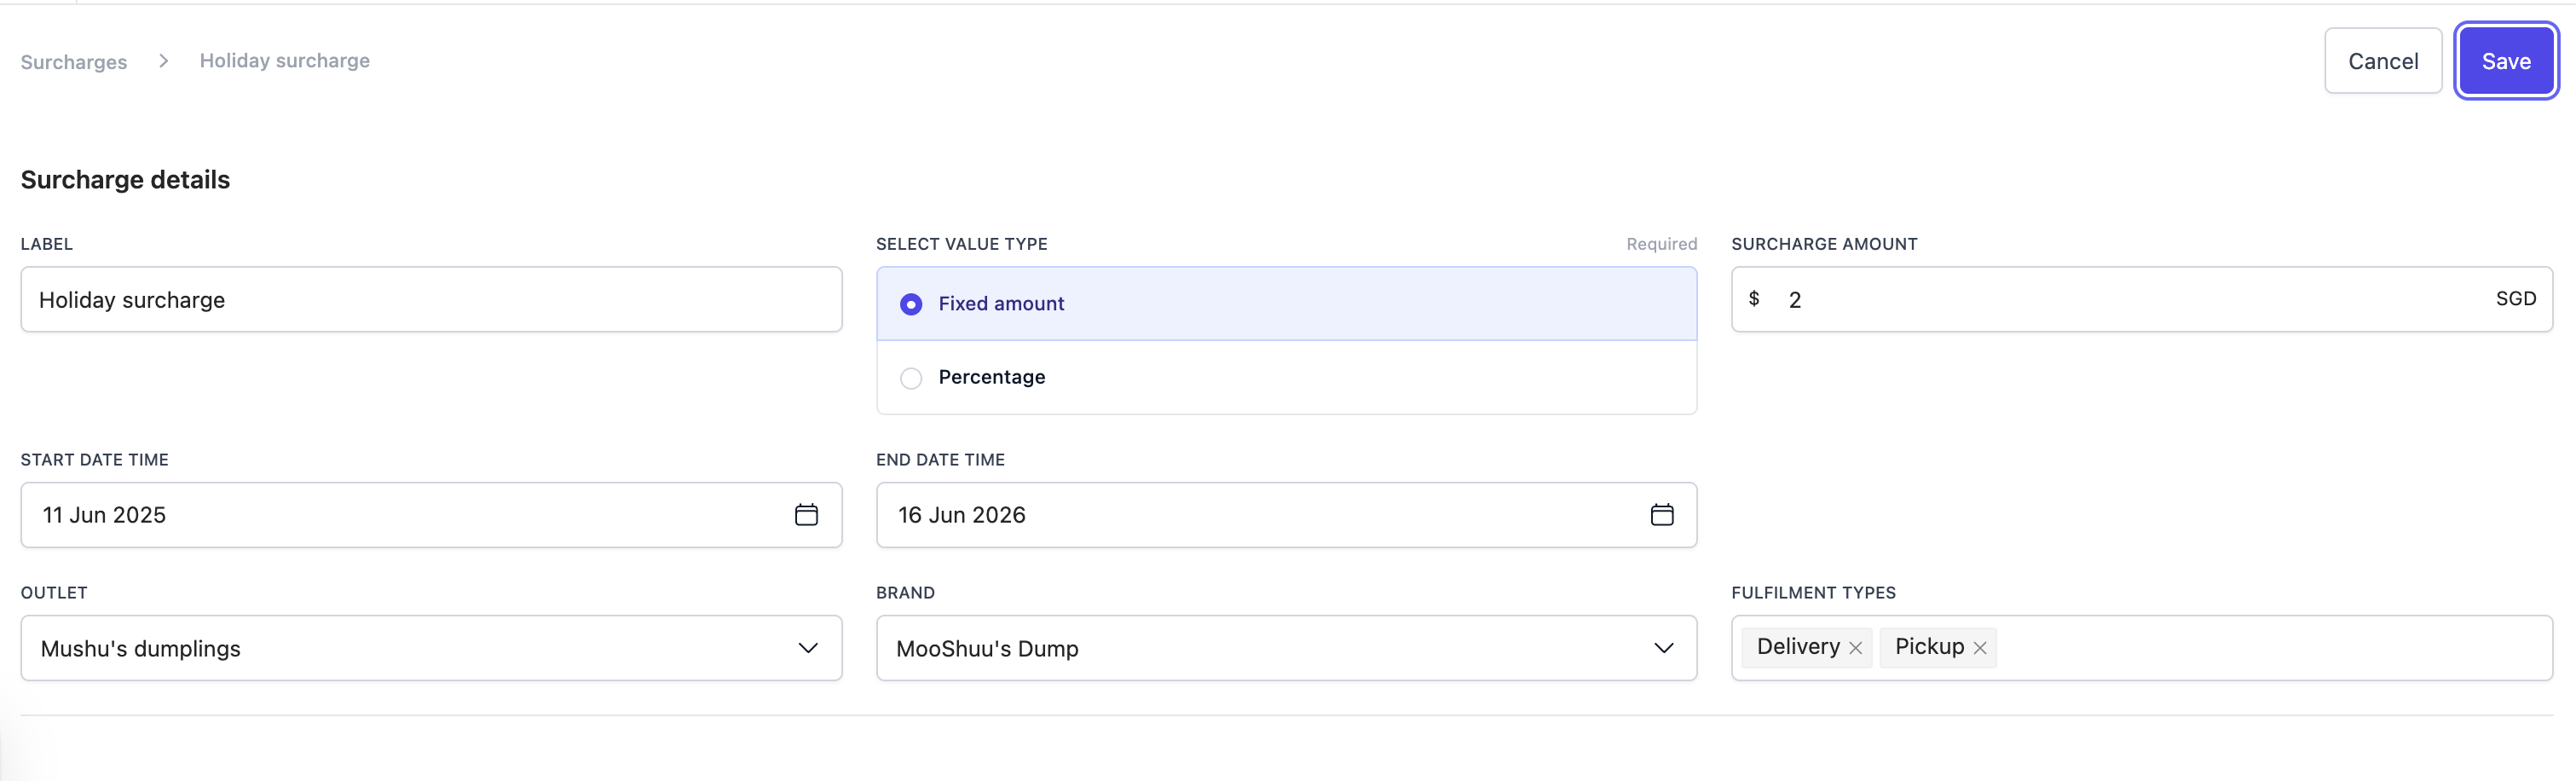
Who is this article for?
  • Atlas users with Admin permissions.
  • Merchants adding a temporary charge for holidays, weekends, or peak periods.
A surcharge adds an extra charge to orders during a period you choose. You decide whether it is a fixed amount or a percentage, and which outlet, brand, and fulfilment types it applies to. While it is active, it is added automatically, and customers see it at checkout before they pay.

Add a surcharge

1

Go to Surcharges

In the left sidebar, go to Settings → Surcharges. Existing surcharges are listed here.
The Surcharges list page showing a table with ID, brand, surcharge amount, start and end date/time, fulfilment types, label, and outlet, with an Add surcharge button.
2

Click Add surcharge

Find the Add surcharge button in the top-right corner.
3

Fill in the details

  • Label — what customers see at checkout (e.g. “Holiday surcharge”).
  • Value type — choose Fixed amount or Percentage.
  • Surcharge amount — the dollar amount (fixed) or the percentage.
  • Start date time and End date time — when the surcharge is active.
  • Outlet — which outlet it applies to.
  • Brand — which brand it applies to.
  • Fulfilment types — which order types it applies to (e.g. Delivery, Pickup).
The Surcharge details form with fields for label, value type (fixed amount or percentage), surcharge amount, start and end date/time, outlet, brand, and fulfilment types.
4

Save

Click Save.

What should happen

  • The surcharge appears in the Surcharges list.
  • While it is active, it is added automatically to orders that match the outlet, brand, and fulfilment types you set.
  • Customers see the label and amount on the checkout screen before they pay.

Next steps